Vive star: how to build a Vive Pro-ready gaming PC
Reach the next level of your VR ventures with this essential rig-building guide...
Ever bought a video game only to find that your PC isn’t strong enough to handle it? Well imagine that devastation tenfold, as your PC crumples at the hands of the £799 Vive Pro. That’s a lot of dollar down the drain.
It’s not such a farfetched concept either – very few people own a computer with the muscle to cope with HTC’s latest VR headset. Assume you’ll be fine since your PC has the ‘VR ready’ badge? Think again.
To power the Pro’s 3K AMOLED displays, Vive has upped the recommended tech specs of a computer, so you can no longer rely on searching for that ‘VR ready’ tag.
So how powerful does your PC need to be to handle HTC’s Vive Pro? Luckily, we’re here to take you through the recommended specs and setup, so you’ll be able to build your own monster machine and jump into the world of virtual reality.
Here are the eight main things you need…
1) The price of processor: Intel Core i5-4590 or AMD FX 8350, equivalent or better
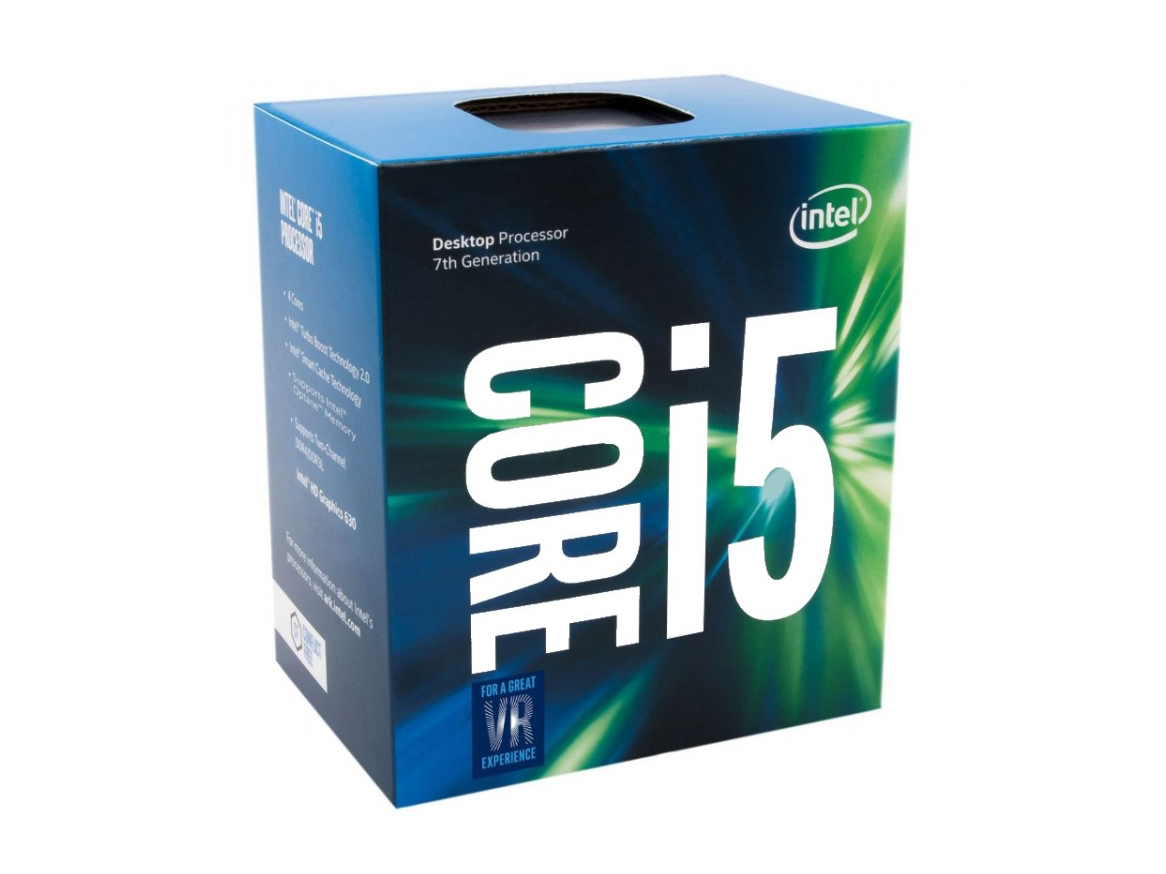
You don’t actually need an ultra-powerful processor to get your Vive Pro up and running. In fact, the recommended i5-4590 Intel Core launched way back in 2014 and has since been discontinued.
That means that if you’ve bought a certified gaming rig in the last few years, its CPU probably already fits the VR bill. If you’re starting from scratch though, you might as well future-proof your PC and get a more up-to-date processor, especially since you can get a decent one for a reasonable price.
We used the £230 Ryzen 1700 for our configuration, which has a whopping eight cores. With this much beef, we breezed through games without our computer letting out a single whimper.
Looking to be slightly more stingy with your money? The £150 Intel Core i5-7400 is a fantastic alternative, which will also ensure a smooth performance with the Vive Pro but for £80 cheaper.
Total rig cost so far: £230
2) Motherboard love…
Thinking about motherboards is enough to overheat your brain unless you’re an expert computer geek. Focus on the required essentials though, and it becomes a lot more manageable.
Firstly, you’ll need a motherboard that’s compatible with your CPU. If you’ve opted for an AMD CPU, then your motherboard will need an AM4 socket. Intel Core processors, meanwhile, need an an LGA 1151 port, but you’ll also need to make sure the motherboard’s chipset is compatible with the generation of the chip you’re using.
Then you also need the relevant ports. A DisplayPort socket is mandatory for the Pro since the LinkBox only has a Mini DisplayPort output for transmitting video. Sorry HDMI, but you’ve been dumped. What does a DisplayPort look like? Essentially a HDMI port that’s had its end slice off, leaving a straight edge. A USB 3.0 port or higher and a HDMI output for connecting up your TV/monitor should also be on your checklist.
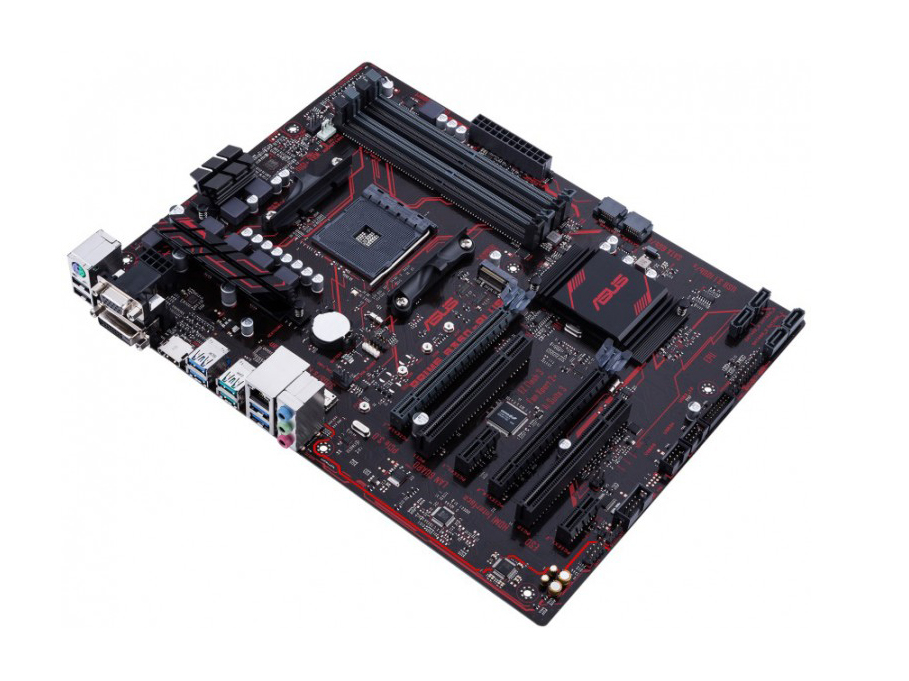
Asus’ Prime B350-Plus AMD B350 is the motherboard we picked, which is available at Overclockers for a reasonable £82 price. But the best motherboard for you really does depend on the other components you’ve invested in, namely the CPU.
Total rig cost so far: £312
What about Wi-Fi?
If the room you plan on having your VR antics in doesn’t have a router or Ethernet port handy, then you’ll likely want to use Wi-Fi to access your Steam library.
This might sound obvious, but not every motherboard has Wi-Fi built in – ours didn’t for starters – so you’ll want to double-check the specs.
You could get an external Wi-Fi adapter as a solution to keep costs down, but these can have flimsy connections.
3) Graphic detail: NVDIA GeForce GTX1060 or AMD Radeon RX480, equivalent or better
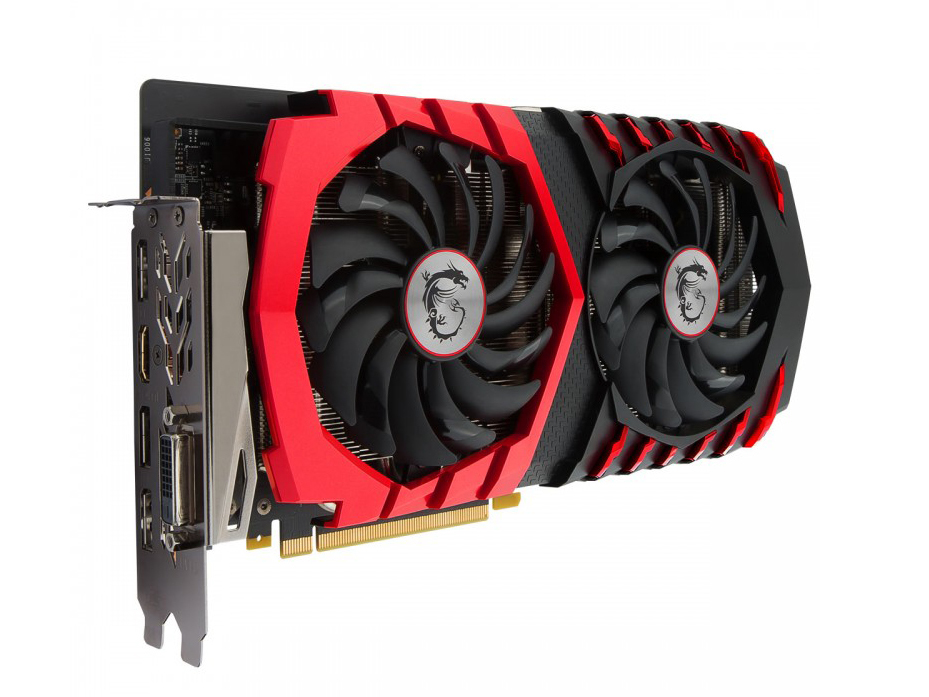
Here’s where things get expensive, as the Vive Pro demands a pretty monstrous GPU. This is no surprise, as the headset is required to generate images for two seperate displays simultaneously. And now the pixel count has leapt up, you’re going to need a better GPU than what the original Vive required.
HTC recommends you get the Nvidia GeForce GTX 1060 at least, which costs £380. But since the Vive Pro’s main selling point over HTC’s standard headset is graphical fidelity, you’ll likely want to get the most out of the Pro as you possibly can without remortgaging your house.
We opted for the Asus GeForce GTX 1080 Turbo. This was enough to see a huge difference in the likes of Thumper and Doom VFR with crisp detail and vivid colours. How much will that cost you? £650. Yep, that’s a whole lot of dough, but generally the more you spend the better things will look.
Total rig cost so far: £962
4) Memory lane: 4GB RAM needed
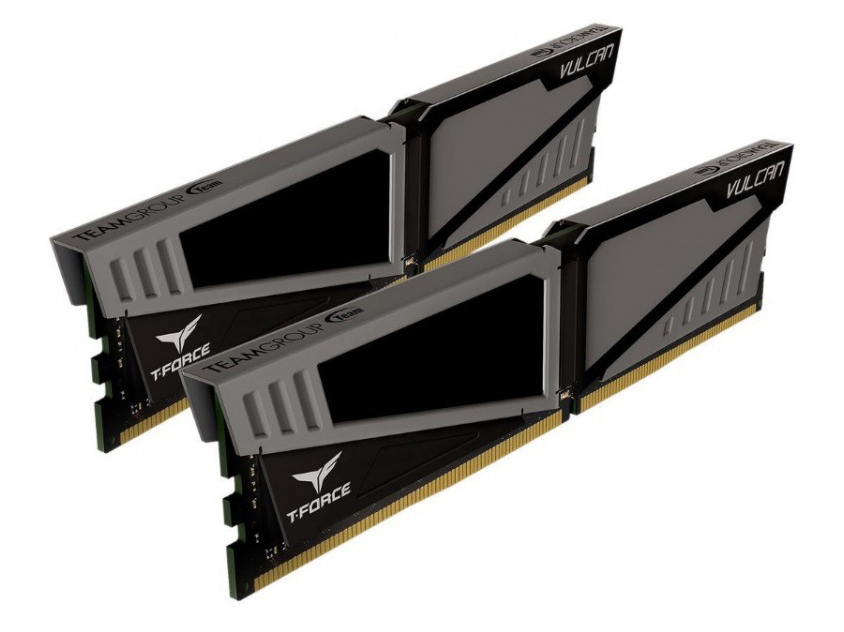
It’s easy to get lured in by bright lights and cool designs, but to keep costs down you should focus all your attention on getting speedy RAM. Vive recommends you get 4GB of RAM at the very least.
We went for 8GB of memory with Vulcan’s T-Force (£75), as there doesn’t seem to be a dramatic price hike between memory sizes.
But before you hit checkout, be sure to confirm that it’s compatible with your CPU.
Total rig cost so far: £1037
5) A strong case…
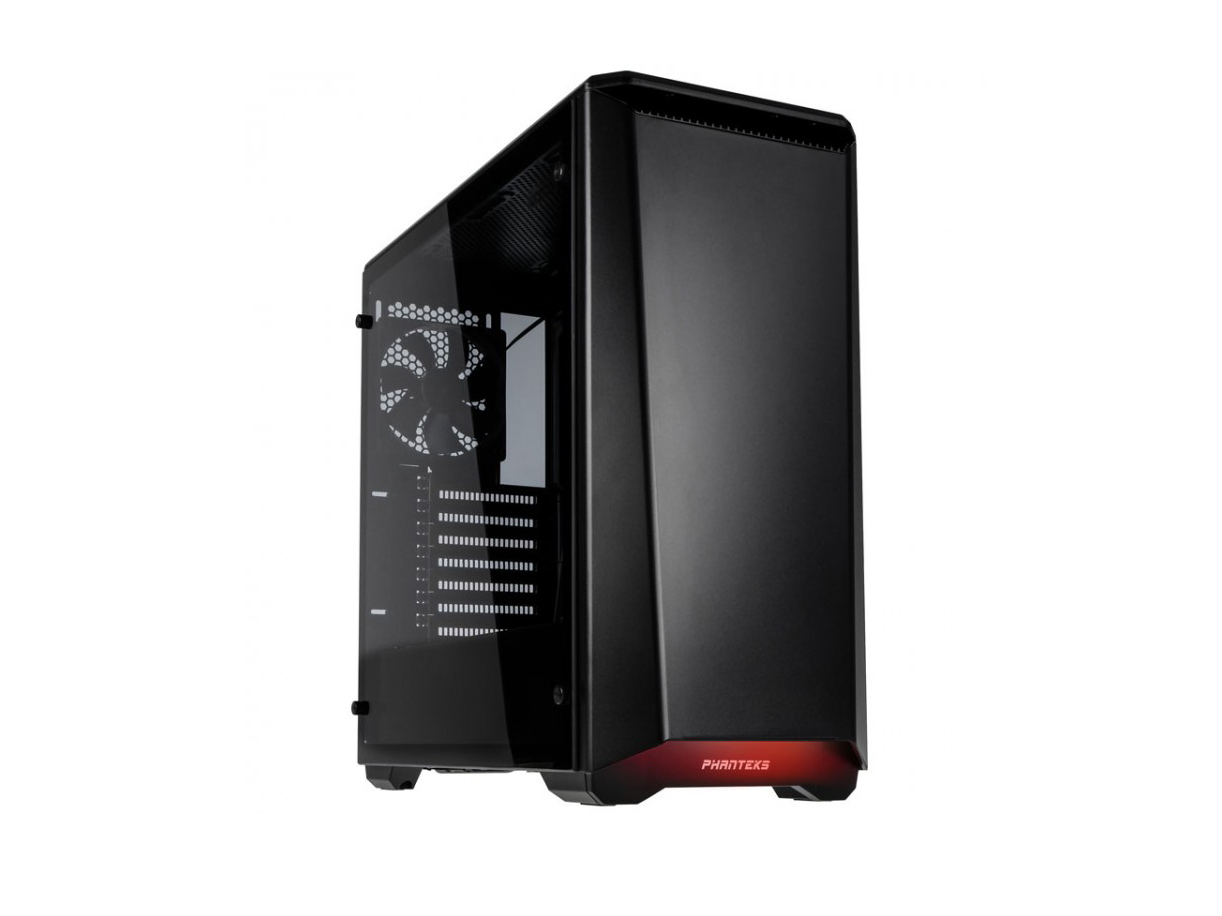
Phew. Finally a respite from all those computer specs. As long as your case has a enough breathing space for ventilation and looks suitably badass, then you needn’t worry about much more.
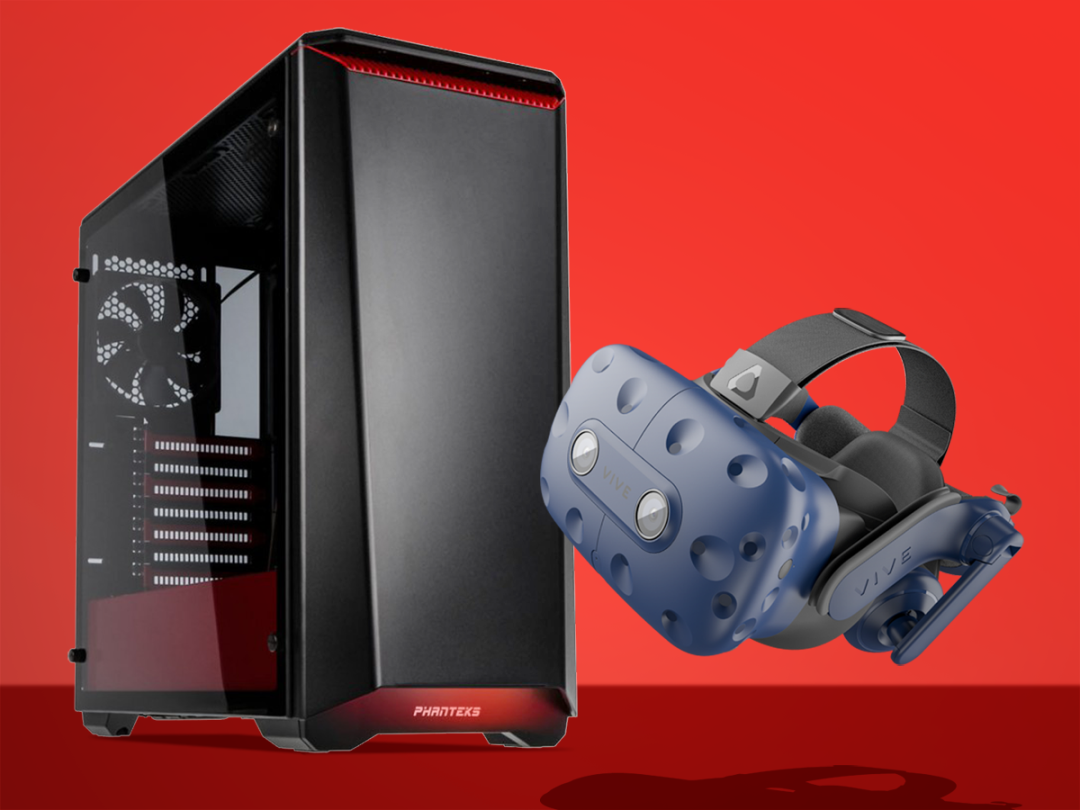
We housed our computer setup in Phanteks’ Eclipse P400S Glass Midi Tower case. It’s not too flashy, but still looks smart enough to make any gamer drool. The internals are easily accessible too, with a removable glass panel. At £84, it’s not a bad price point either.
Total rig cost so far: £1121
6) Smooth operator: Windows 8.1 or Windows 10
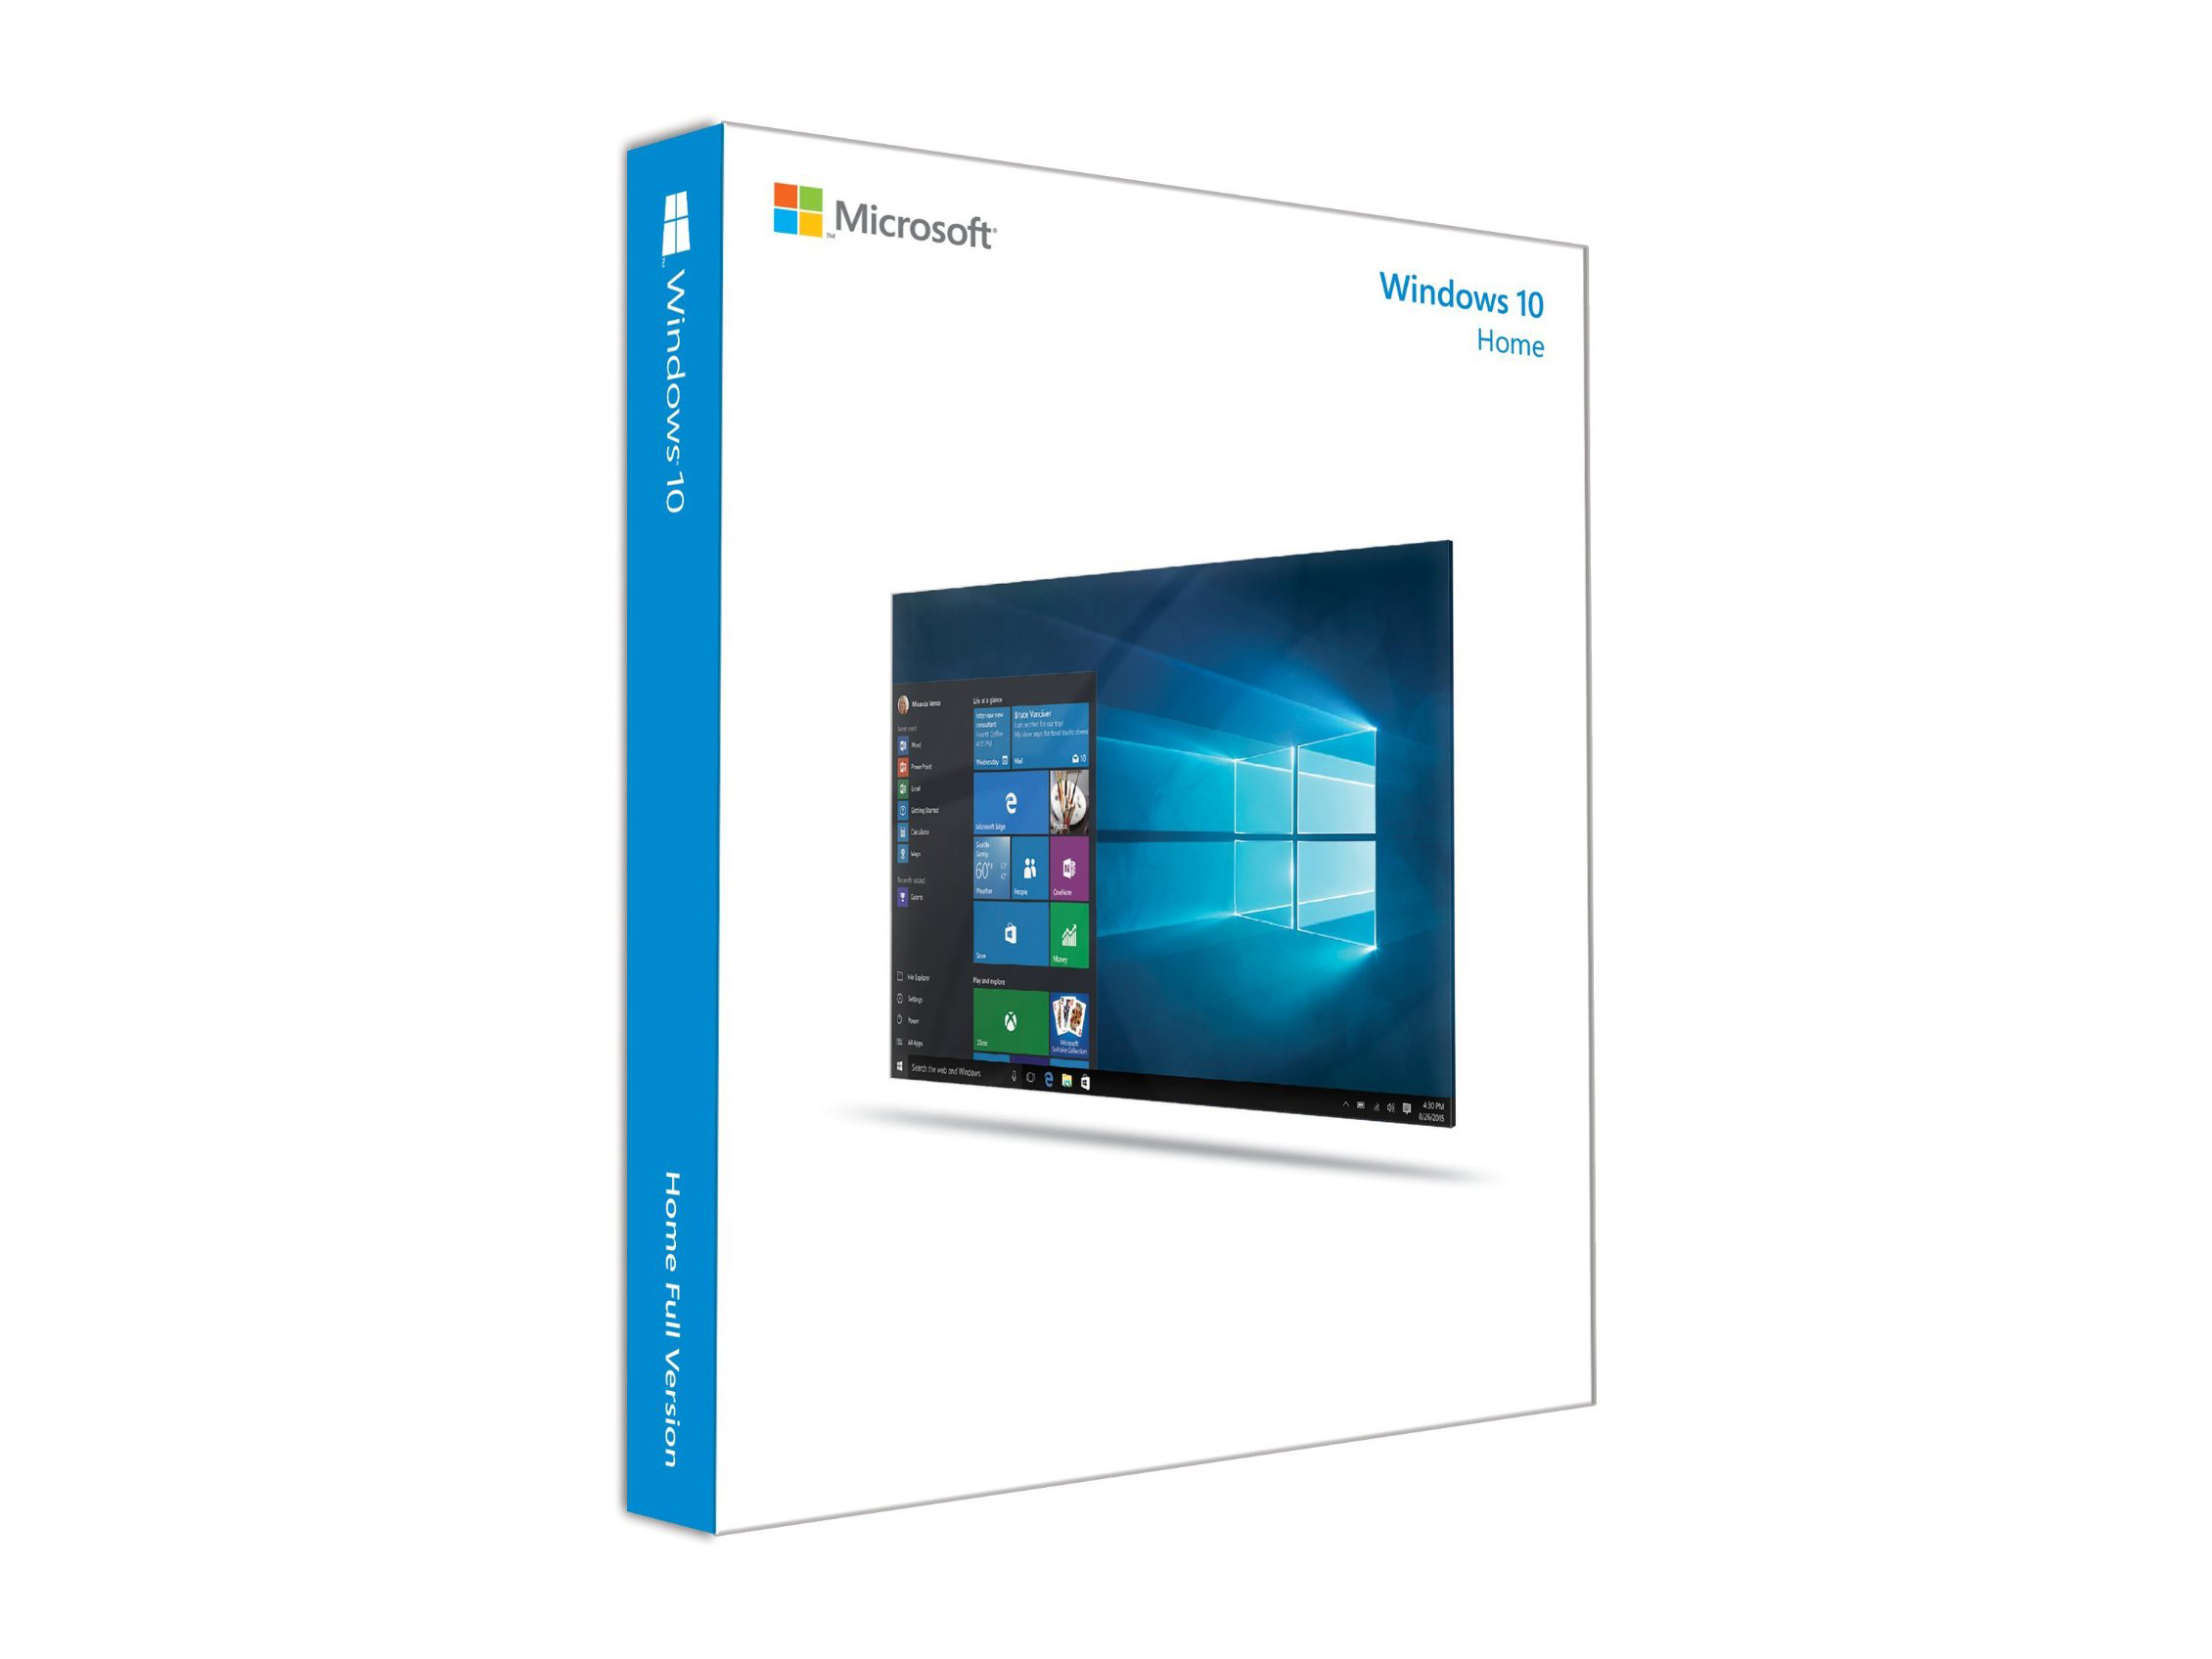
This one’s pretty much a given, but for those still living in the past, you’re gonna need at least Windows 8.1 or 10 (£95) to run the Vive Pro.
Most of you probably already have this software, but we’d thought to mention it anyway, just in case you’re some hermit who’s still plodding away on Windows 7.
Total rig cost so far: £1216
7) Feel the power…

After spending all that money on your CPU and graphics card, you may be tempted to skimp out on stuff like the power supply. We’ve got some important advice on that front: don’t be a fool.
The power supply is actually a very important component for the long-term performance of your computer. Things can go terribly wrong quickly if you’ve got some dodgy hardware.
Our first advice would be to buy from one of the respected brands. Antec, Corsair, Cougar and Seasonic are all good options.
Secondly, you’ll want a power supply with the wattage to handle the rest of your PC innards. Input your computer’s components in this calculator, and it’ll give you a recommended wattage level. We went for the Cougar GX-S 650W (£70).
Total rig cost so far: £1286
8) Keep your cool…
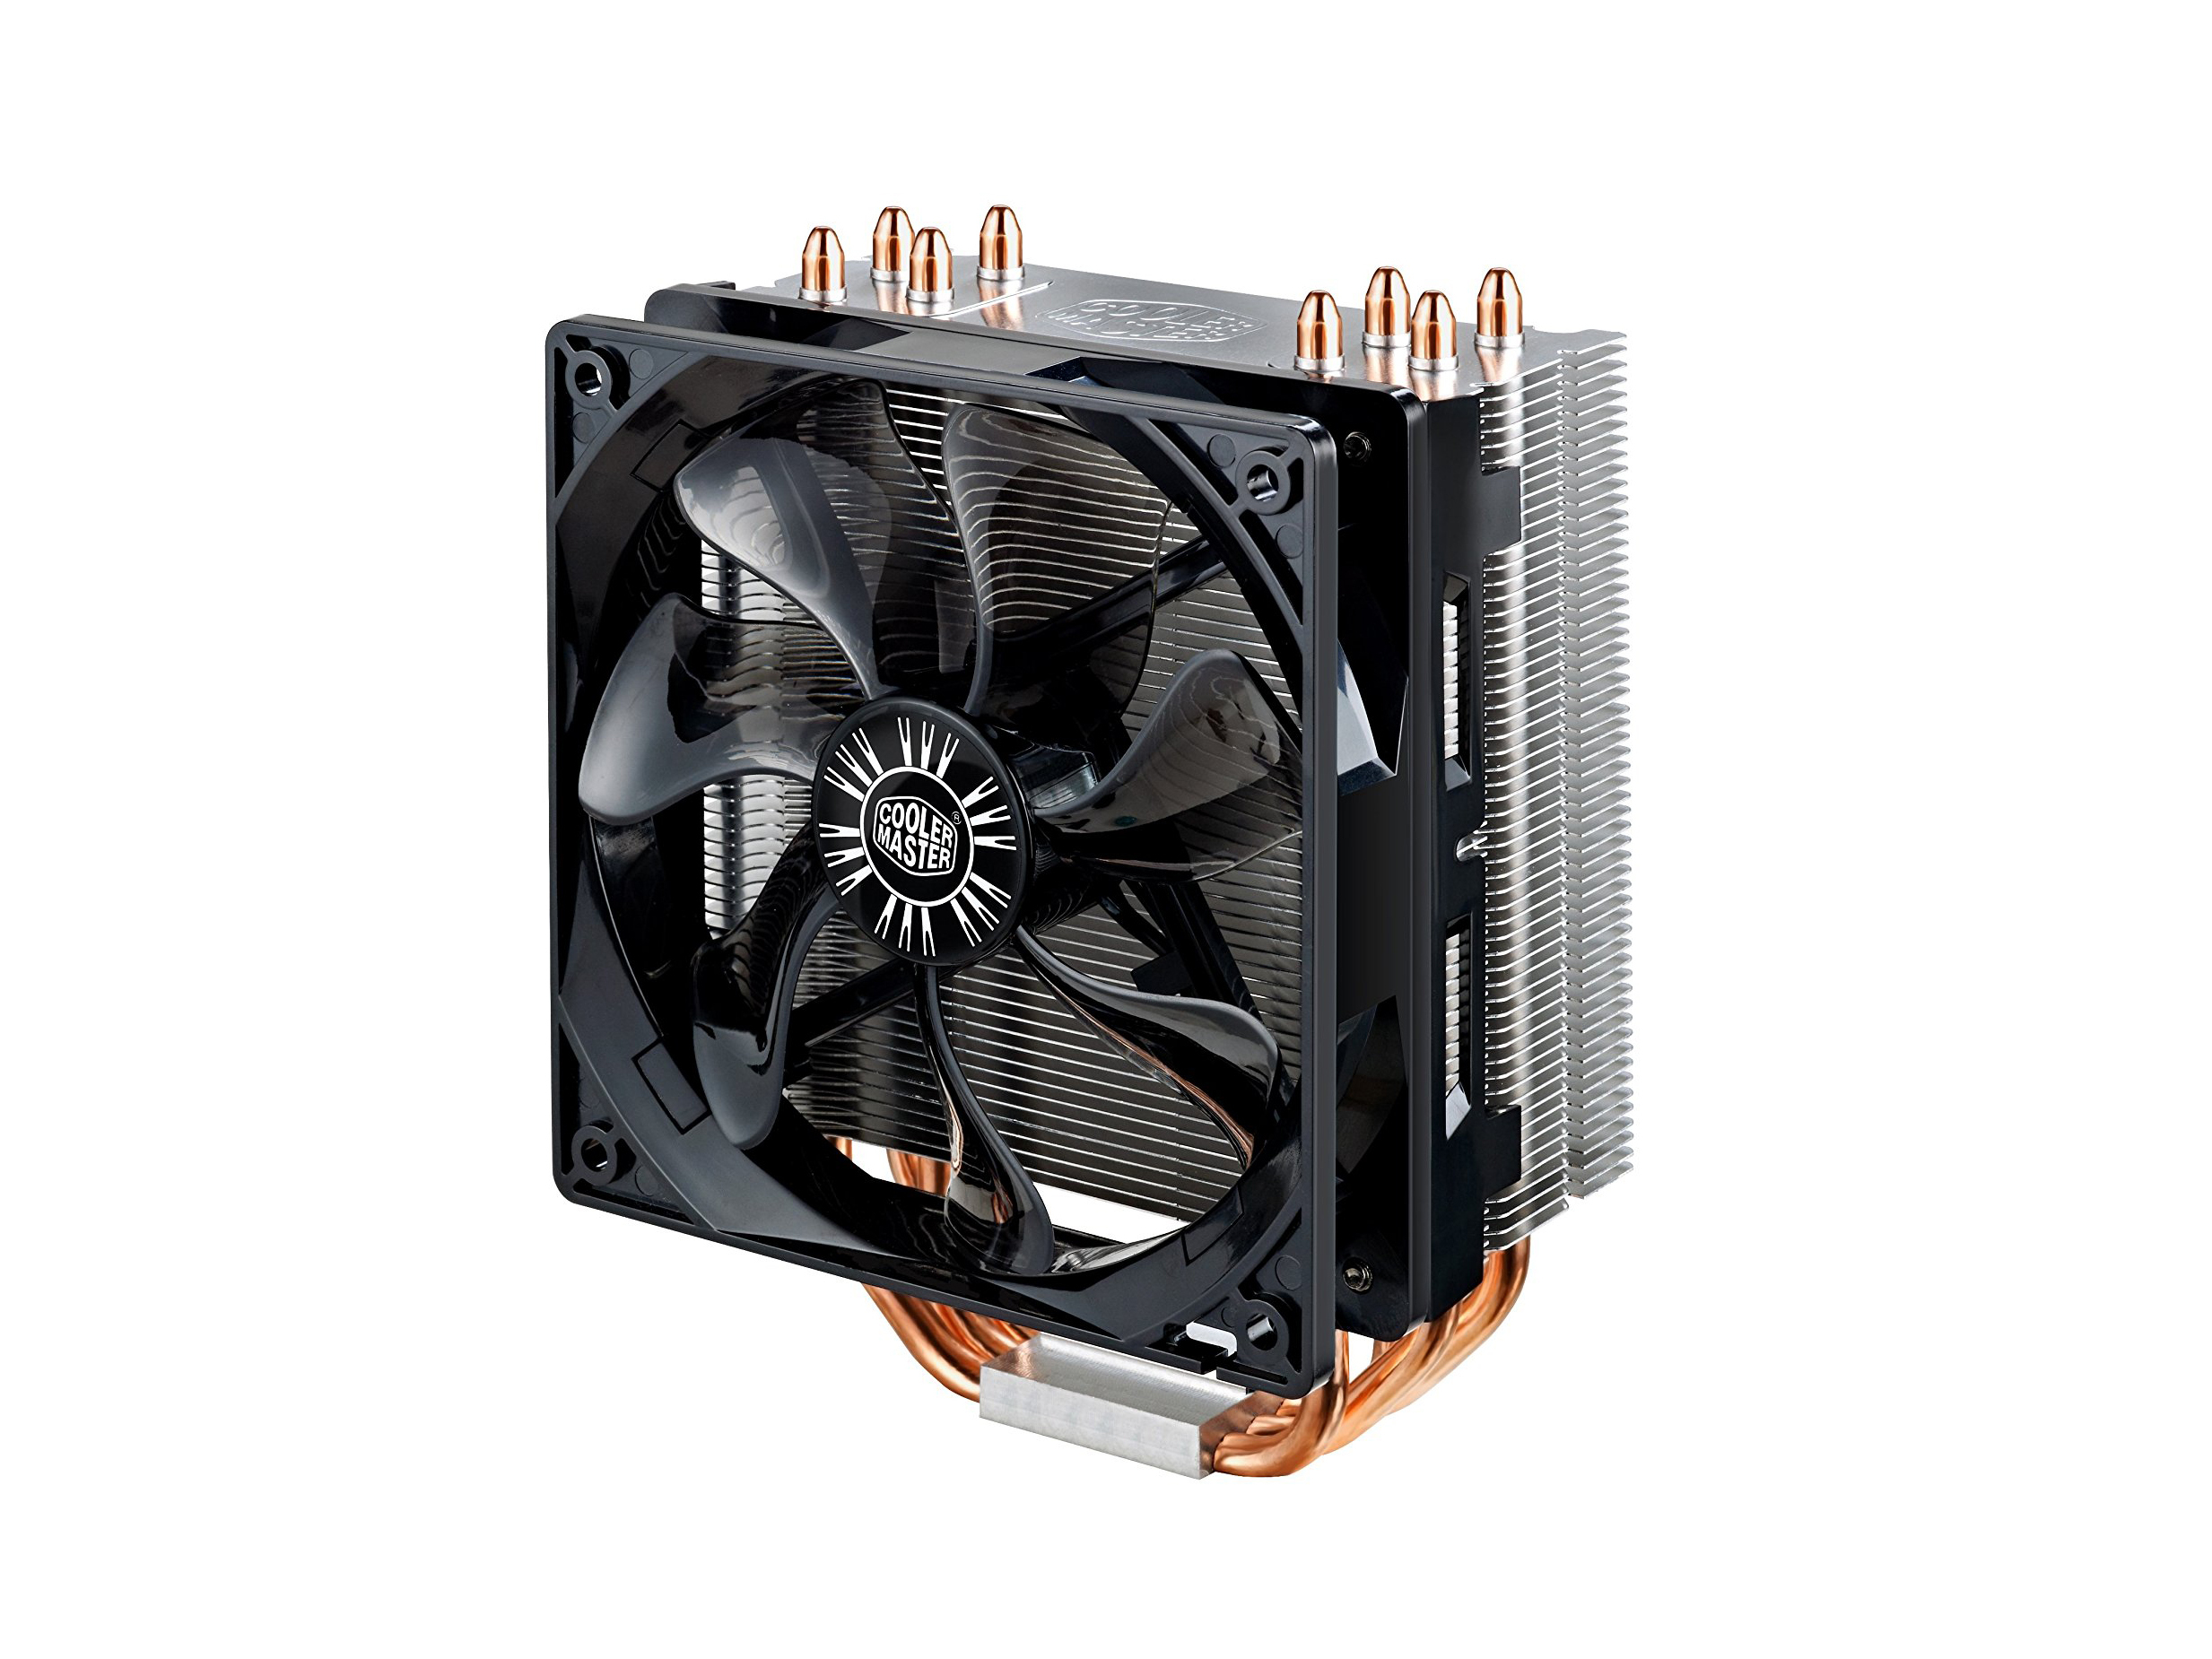
Forget to buy a fan, and your PC components will suffer a heat-equivalent to the Devil’s torture chamber. Well… hot enough to damage things at the very least.
This will probably be the cheapest item on the list, but it’s still just as essential as the rest. Our custom-built computer enjoyed the breeze of the Cooler Master Hyper 212 EVO. Considering its reliability and that low-costing £27 price, this is a solid investment.
Final rig cost: £1313
Alternatively…VR-ready PCs
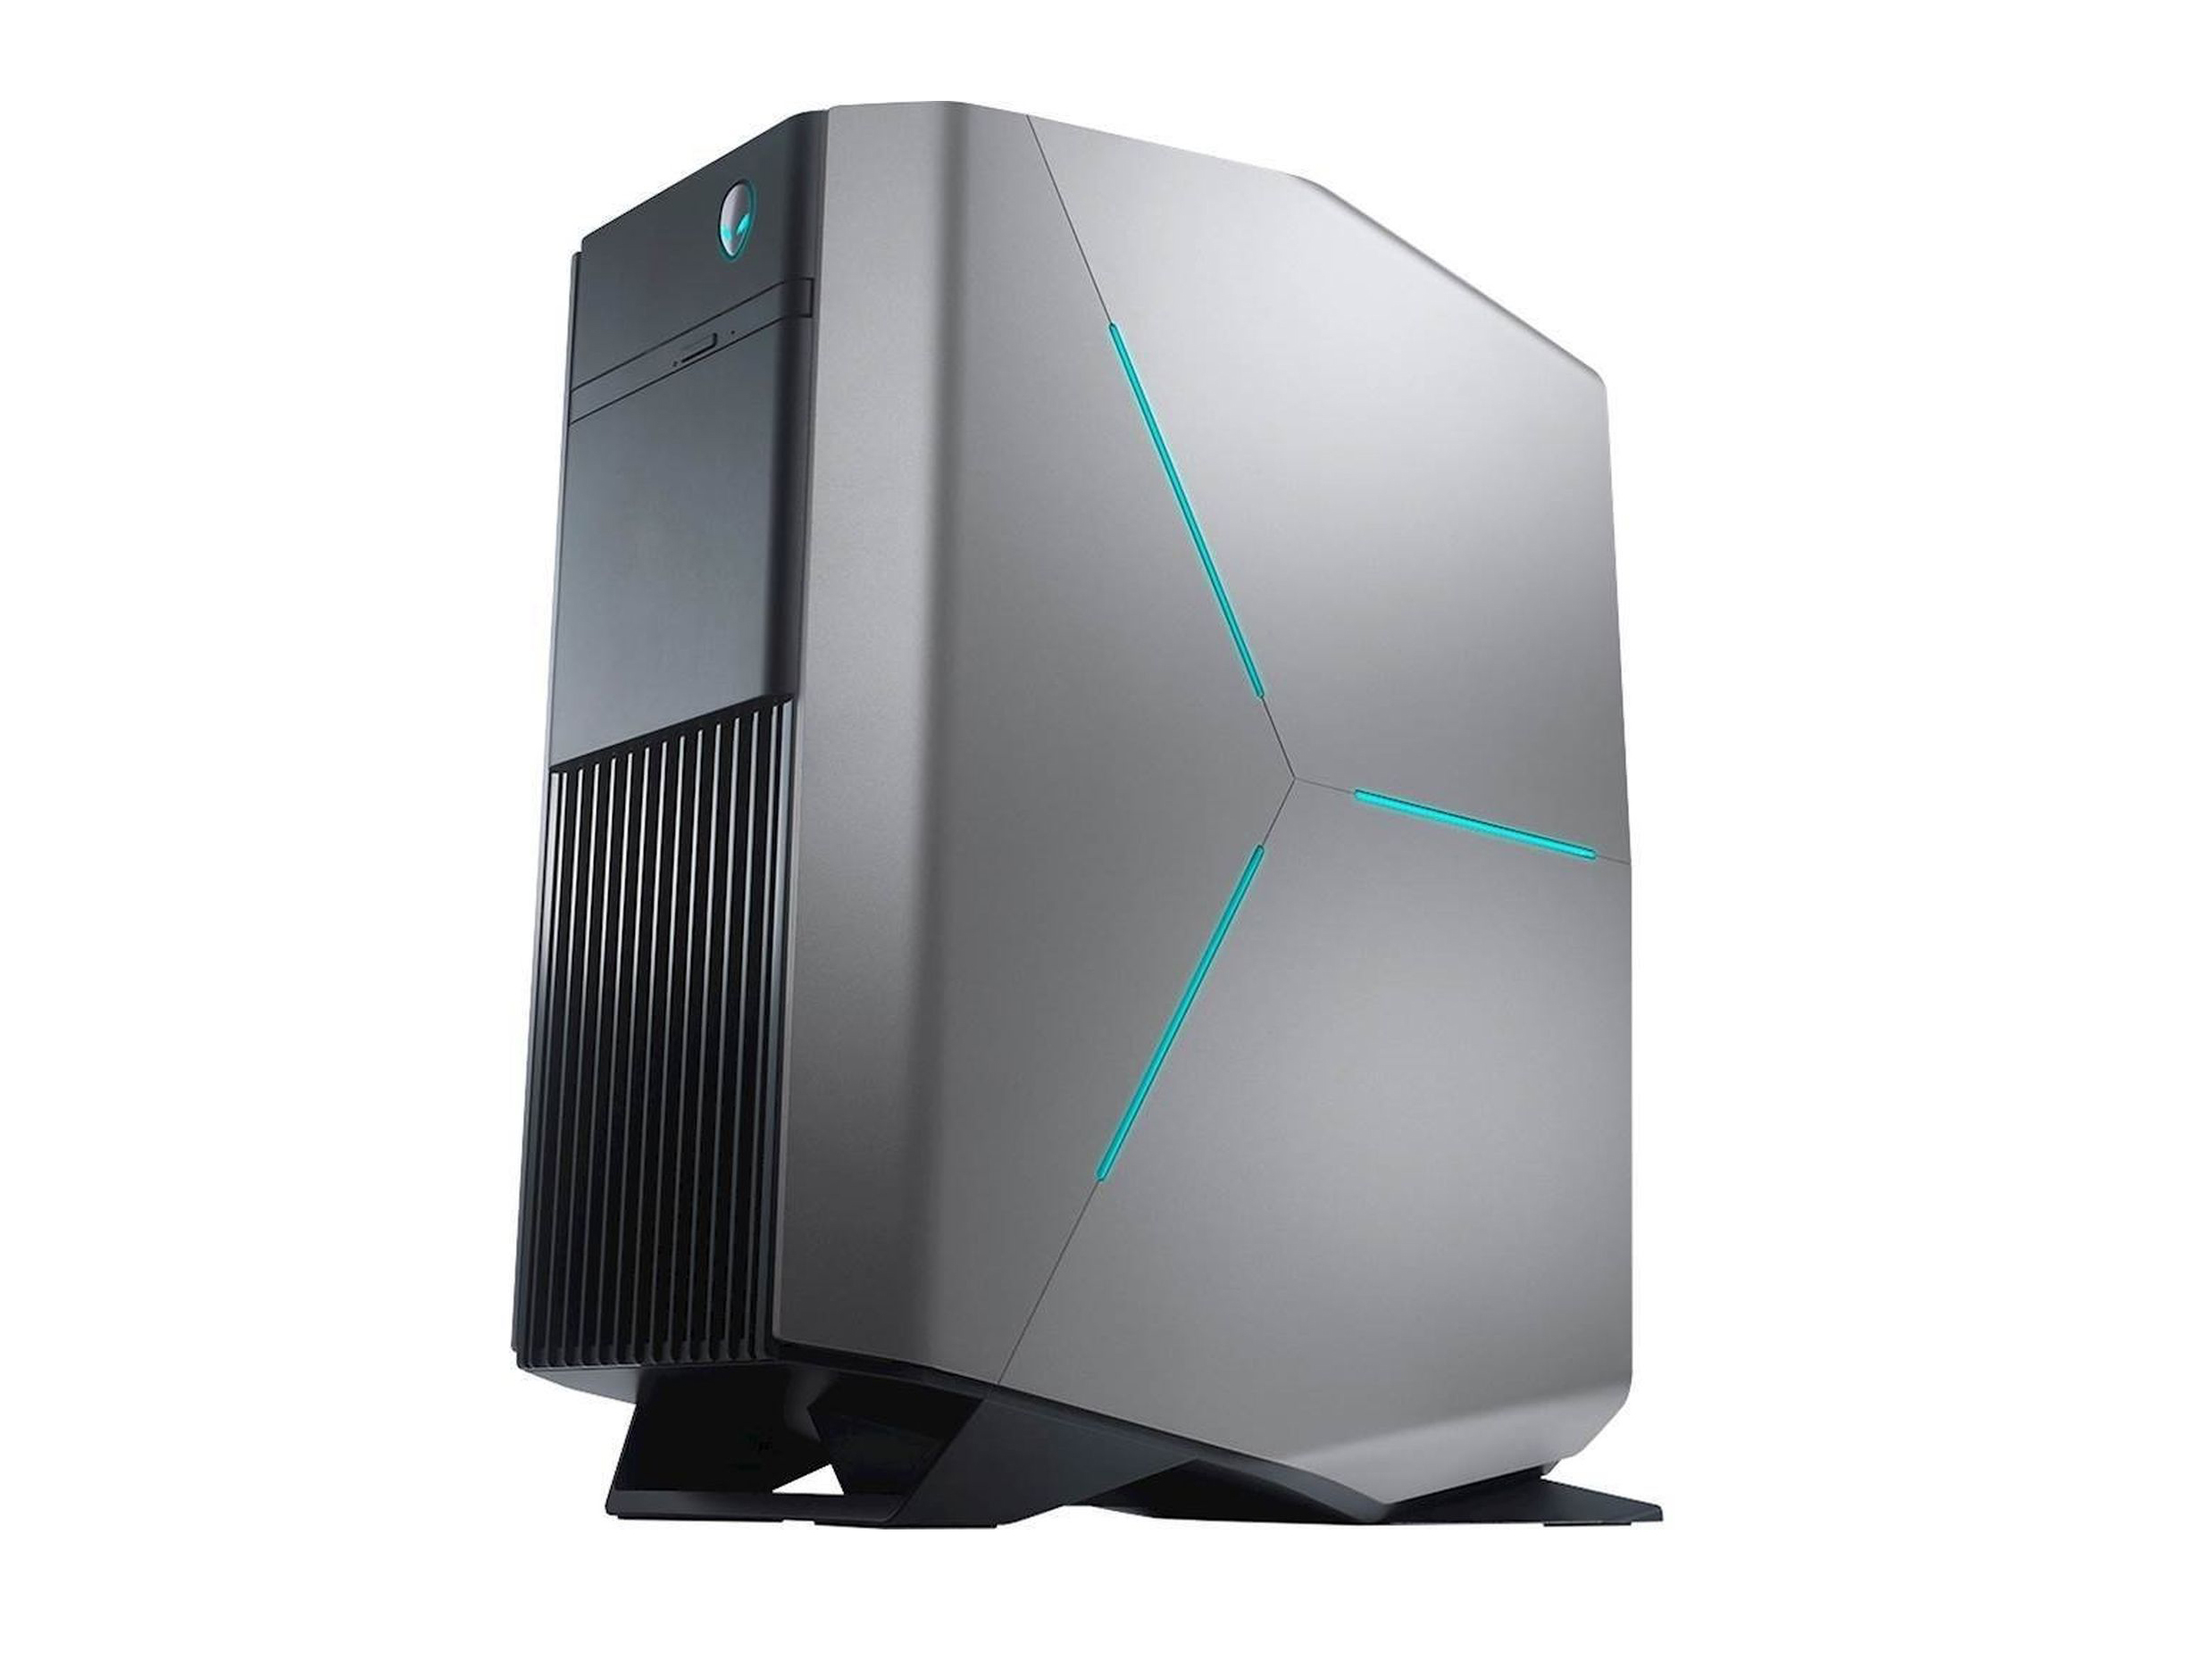
Getting cold feet after reading about everything you need to buy for a Vive Pro-ready PC? We don’t blame you.
If you’re more of a console kind of gamer and want everything ready made, you could just buy the complete package instead.
For the exact same rig that we used for our Vive Pro review, you can get the Titan Katana Overclocked Gaming PC for £1470.
While we haven’t tested other Pro-worthy rigs, the likes of Dell’s £1499 Alienware Aurora and HP’s £1199 OMEN 870-270na look to have the specs to tackle the Vive Pro in all its glory too.

