How to use a VPN on your iPhone
Safely surf the internet from your iPhone

Want to use a VPN on your iPhone? It’s a very good idea, as it helps keep your data safe from online criminals. Another benefit is being able to access streaming services from anywhere in the world, no matter where you are on the globe.
Using VPNs has certainly become a lot easier over the years. The first time we used one, it involved manually fiddling with server addresses and was strictly for computers only. That may be fine for the tech heads, but it’s about as unfriendly as consumer gadgets get before you start ripping gadgets apart to get at their components.
Thankfully, that has all changed. Using a VPN on mobile hardware is perfectly possible, and doesn’t require an MIT education – just a simple step-by-step guide and a smartphone. Whichever of the best VPN services you use, the steps for setting one up on an Apple device are simple.
Step 1: Download your VPN provider’s app
Any VPN you would want to use on your iPhone will have a dedicated iPhone app. All of the best VPN options do, whether it’s a paid for VPN or a free one. The use of the Apple App Store gives you an extra layer of protection, as you can be sure any VPN app you download will be legit.
These apps are what lets us side-step the old-school method of hooking up a VPN by manually inserting server information.
Step 2: activate Your VPN account

In almost all cases, you’ll need an account to use a VPN service. A quick boot-up of your VPN app will guide you through the process. In ExpressVPN, we had to sign in using our account details. With HotSpot Shield, though, you can get VPN security without creating an account.
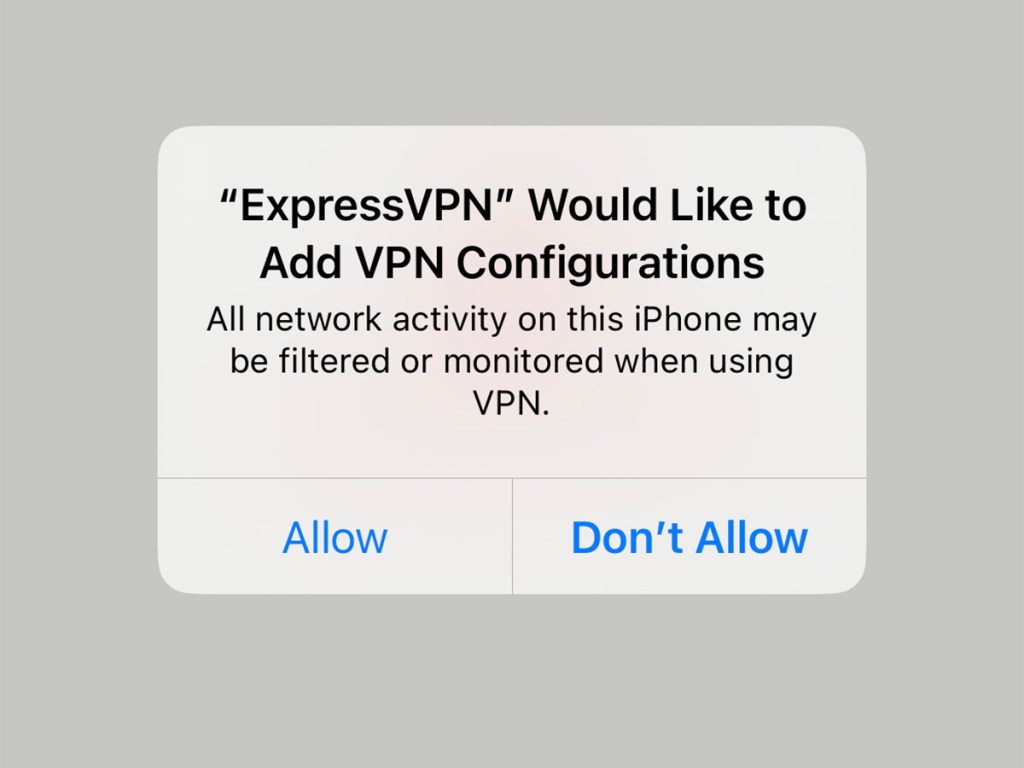
The crucial part comes next. You’ll see an alert that your VPN app ‘would like to add VPN configurations.’ This is where the app plugs all the tech stuff into the back-end. Tap ‘allow’, or you won’t be able to get any further.
Step 3: pick your country
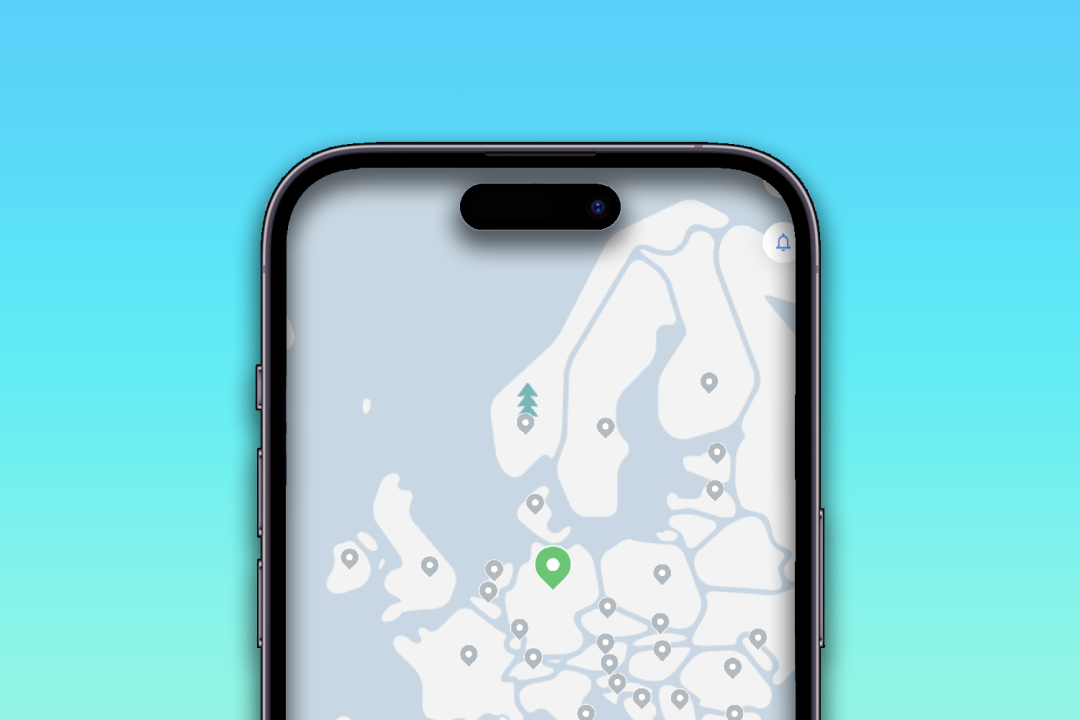
A good VPN service will let you pick from a long list of countries when you connect. This shows you the location of the server your browsing will be passed through.
Using a free VPN? You may only have a couple of options, while the top paid services provide dozens. When you choose a location, this is where apps and websites will believe you are. This then affects websites that are only accessible in certain countries, and what content library you’ll see on services like Netflix.
Many of the VPNs we’ve tried have a big virtual power button on their front page. Tap that, and the VPN will connect.
Step 4: toggling advanced features
The one feature that you’ll typically find across VPN services is the kill switch. That’s the most dramatic term for cutting off your iPhone’s internet access when the VPN is not active.
It may actually be called the ‘kill switch’, or could just be an option in your VPN app’s ‘Settings’ menu. Either way, you will want to use this if the added privacy and safety of a VPN is absolutely essential 24/7. For most people, it probably isn’t.
Step 5: troubleshooting
So far we’ve stayed out of the nuts and bolts of the actual VPN area hidden in your iPhone’s settings menu. But you may need it one day. You’ll find that in Settings > General > VPN & Device Management. Tap the ‘VPN’ entry to see the VPNs you have installed on your phone.
If connected properly, the slider at the top of the page should be flicked ‘on’. We’ve encountered a few problems when the iPhone and VPN app didn’t sync up properly after changing settings, so check this slider is engaged.
However, the number one tip for issue solving is to make your VPN app re-teach your iPhone the correct VPN settings. This will be called something similar to ‘reinstall VPN profile/configuration’, and will be part of the app’s settings menu. A prompt will pop up on the iPhone screen asking for access. Tap ‘allow’ and you should be back in business.
Having trouble with Airdrop in every day life? You will likely need to disable your VPN to get it working, thanks to the way a VPN manhandles your internet activity.
