The Big Question: how should I edit my holiday photos?
How to make your summer snaps shine even more

So, you’ve returned from your big summer holiday with a healthy tan, a newfound appreciation for fish tacos, and a couple of SD cards full of photos.
The first two aren’t a problem (provided you can find a regular source of good fish tacos), but the latter can be a major headache – hundreds of shots that need brightening, cropping, straightening or otherwise fixing in order to create the perfect photo record of your trip.
Naturally, clever tech can make this task a lot quicker and easier. Read on and find out three ways to make your holiday snaps look amazing.
Fix your smartphone photos
VSCO (£Free)
It’s 2016 and smartphone cameras are officially excellent, so you’ve chosen to take all your holiday photos on your mobile. But now you’re noticing that the horizons on otherwise lovely landscape shots are wonky, and your smartphone’s lack of a zoom means some photos have simply got too much going on in them, leaving the subject looking lost.
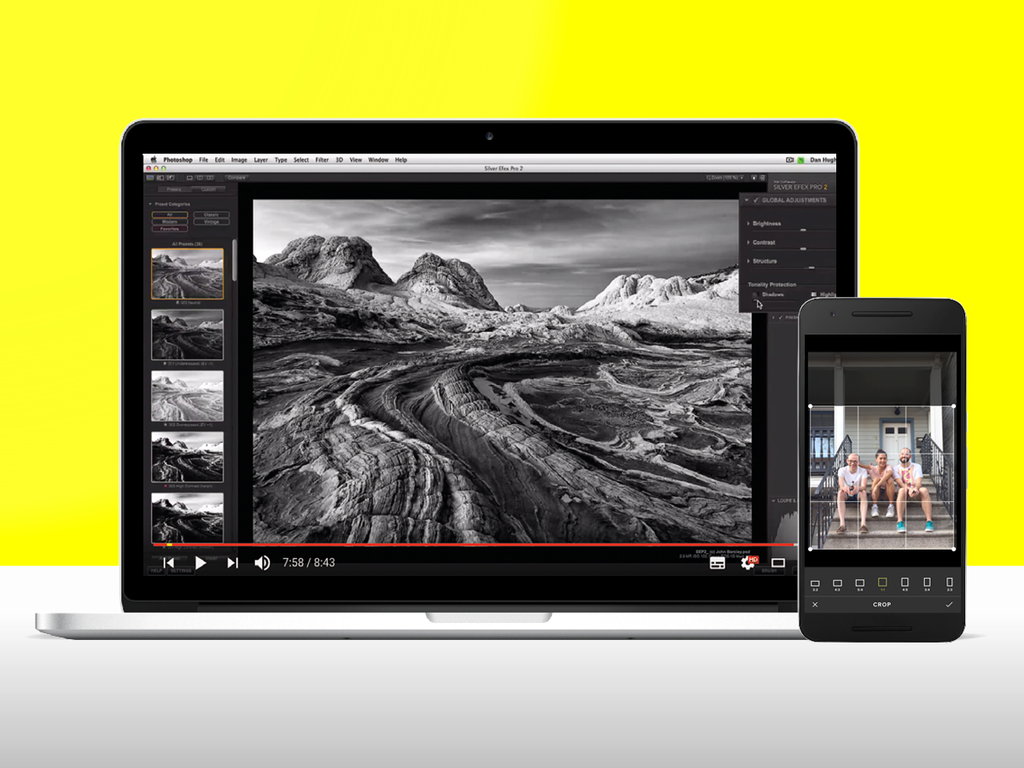
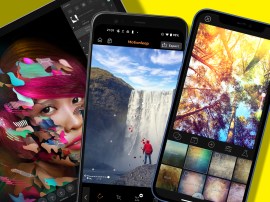
Most smartphone camera apps have at least a handful of rudimentary editing functions, but few are as elegant as the Visual Supply Company’s free Ansroid and iOS app. Among its editing features are a straightening tool (adieu, wonky horizons!) and a crop tool that lets you cut off distracting sections of your composition to draw more attention to the subject.
VSCO also offers sliders that can shift both vertical and horizontal perspective – essential for making photos of buildings look “head on”, like they were taken from an elevated position rather than from the ground. And the app keeps a copy of the original, so all of its editing functions are reversible, even months later.
Crop out the bad
Camera phones’ lenses tend to be wide, so sometimes there’s too much going on in photos, distracting from what you want to be the main subject. Tap VSCO’s crop tool and you can trim off the fat, focussing the viewer’s eye on what’s important. There are seven aspect ratios to choose from.
Tweak like a pro
Google Nik Collection (£Free)
Previously a premium offering from Google, the Nik Collection is now available gratis. It’s a set of seven desktop apps that offer simple-to-use pro-level tweaking options for photos, and here’s what you get: Dfine for noise reduction; Sharpener Pro to enhance detail; Analog Efex Pro, which helps recreate the look of vintage film cameras; Color Efex Pro for colour correction and colour-changing filters; Silver Efex Pro for creating black-and-white images; Viveza, which lets you adjust colour and tonality; and HDR Efex Pro, for merging several images together to create a single high dynamic range shot.
Whew.
Nik’s tools can also be used as plug-ins for an editing package you already own (like Photoshop, Lightroom or Aperture), but they work just fine as standalone apps. Each Nik plug-in has its own star skill, but you can combine several for each image you edit – Google recommends using Dfine to reduce noise, then Viveza, then Color Efex Pro, then Silver Efex Pro (if you’re converting to B&W), then sharpening with Sharpener Pro last.
Get the Google Nik Collection here
Make a punchy B&W shot
Pick a photo with a wide range of lighting – one with both bright and dark areas, ideally in close proximity. Open it in Silver Efex Pro and try one of the presets in the left-hand column until you find a good base, then use the right-hand columns sliders and boxes to tweak until the image really bursts with contrast. Boom – you’re a moody monochrome master.
Kill the noise
Noiseless (From £5.99)
Remember when you took selfies of you and your significant other sipping cocktails in that dimly lit quayside bar you loved so much? Well, chances are those photo are grainier than a jar of Dijon mustard, because the lack of available light meant your camera needed to increase its ISO sensitivity – and as ISO settings go higher, speckles of noise become more and more apparent in images, destroying detail, contrast and colour purity and making everything look uglier.
Most cameras have some kind software-based noise reduction function built in, but it’s often better to turn that off and remedy it using a third-party program – and Noiseless is among the best.
It employs algorithms to tweak the appearance of pixels in a way that retains detail while minimising noise. It offers a far greater level of control than built-in noise reduction solutions, so you can tweak the amount of noise reduction for each image separately. That means you won’t overdo it to the extent where photos are smoothed out so much that they start to resemble paintings.
That’s not to say that your selfie isn’t a work of art, mind.
Nerf noise
Open a noisy photo and zoom into a problem area using the 200 percent view. You can then try all the presets arranged on the right to see which offers the best balance of noise control and detail retention – or hit the Adjust option for ultimate control over every criteria. The yellow slider bar can be dragged back and forth to preview the effects of each change.


